Click here to get this post in PDF
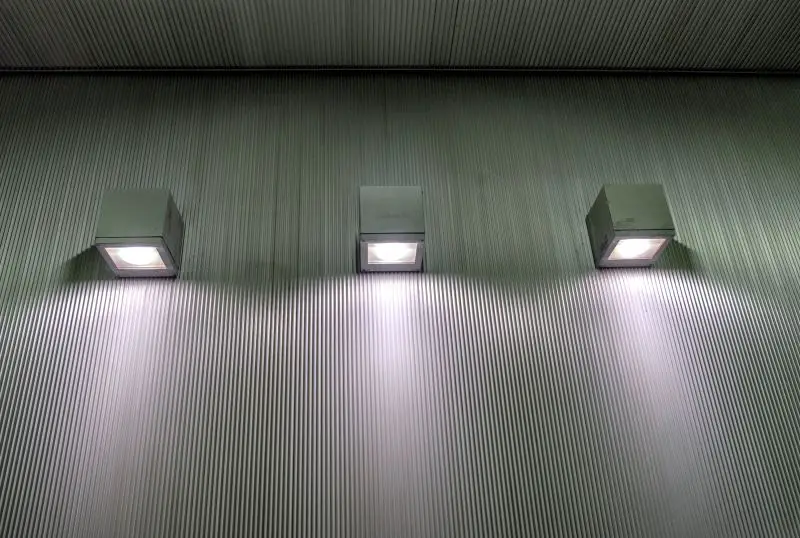
LED wall packs are a popular choice for outdoor and commercial lighting due to their powerful illumination, energy efficiency, and long lifespan. Commonly mounted on exterior walls of buildings, they provide reliable lighting for parking lots, walkways, loading docks, and building perimeters. These fixtures not only enhance safety and visibility but also contribute to lower energy bills compared to traditional lighting systems like HID or fluorescent bulbs.
However, to fully benefit from their performance and durability, proper installation is essential. A poorly installed LED wall pack can result in water damage, electrical issues, or reduced light output over time. By following the right installation practices, you can ensure optimal efficiency, minimize maintenance, and extend the fixture’s operational life. In this guide, we’ll walk you through key tips for installing LED wall packs safely and effectively—whether you’re a facility manager, contractor, or a DIY enthusiast.
1. Pre-Installation Considerations
Before installing your LED wall pack, it’s essential to evaluate several key factors to ensure optimal performance and long-term reliability. Choosing the right location is the first step—mount the fixture at a suitable height that ensures even light distribution based on the area’s purpose, whether it’s for security, pathway illumination, or general visibility. Also, consider environmental exposure—walls that receive heavy rain or direct sunlight may require more rugged, weatherproof units.
Next, verify compatibility with your existing wiring and voltage. Most commercial LED wall packs operate on standard 120–277V, but always confirm to avoid circuit overload or inefficient operation. Check the site for local building codes and permits—some municipalities may require professional installation or inspection for exterior lighting.
Selecting the appropriate wattage, beam angle, and lumens is crucial to avoid over- or under-lighting. A wide beam angle works best for broad coverage, while higher lumens suit high-traffic or security-focused areas.
Lastly, consider weather resistance. Look for models with appropriate wet or damp location ratings and IP65 or higher protection if installed in exposed outdoor environments. These ratings ensure the fixture can withstand rain, dust, and temperature fluctuations without compromising function.
Addressing these pre-installation LED wall pack requirements will save time, reduce maintenance needs, and ensure a safer, more efficient lighting system.
2. Tools and Materials Needed
To ensure a smooth and safe LED wall pack installation, having the right tools for LED wall pack install is essential. Start with basic electrician’s tools such as a screwdriver, wire strippers, and a drill to securely mount the fixture and prepare wiring connections. A reliable voltage tester is crucial for confirming that power is off before you begin working, ensuring your safety.
Depending on the wall pack model, you may need mounting brackets or a backplate to attach the fixture firmly to the wall surface. To protect against moisture and extend the lifespan of your installation, use waterproof sealant or gaskets around all wiring entries and mounting points.
For added convenience and energy savings, consider installing optional accessories like a dusk-to-dawn photocell sensor or a motion detector. These devices automatically control lighting based on ambient light or movement, further improving efficiency and security. Preparing these tools and materials ahead will make your installation faster and more reliable.
3. Step-by-Step Installation Guide
Installing an LED wall pack correctly is key to ensuring durability, efficiency, and safety. Follow this step-by-step guide on how to install LED wall pack fixtures with proper LED wall pack wiring techniques:
Step 1: Turn off power at the breaker
Before starting any electrical work, switch off the power at the circuit breaker to avoid shocks or injuries. Use a voltage tester to double-check that no electricity is flowing to the fixture’s wiring. Safety first!
Step 2: Mount the fixture securely on the wall
Locate the mounting area and attach the LED wall pack’s mounting bracket or backplate firmly to the wall using appropriate anchors and screws. Ensure the fixture is level and securely fastened to prevent vibrations or movement.
Step 3: Make electrical connections (neutral, live, ground wires)
Open the fixture’s wiring compartment and connect the wires from your power source to the corresponding wires on the LED wall pack—typically black (live), white (neutral), and green or bare copper (ground). Use wire nuts or connectors to secure these connections tightly and wrap them with electrical tape for added safety. Ensure no bare wire is exposed to prevent shorts or shocks.
Step 4: Seal all edges against moisture
Since LED wall packs are installed outdoors, sealing is critical. Apply waterproof sealant or use gaskets around wiring entries, mounting points, and junction boxes to protect against rain, dust, and insects. Proper sealing helps prevent corrosion and electrical failures.
Step 5: Attach lens and housing securely
Close up the fixture by attaching the lens or cover and securing the housing screws tightly. This protects internal components from environmental damage and ensures optimal light output.
Step 6: Turn power back on and test
Restore power at the breaker and test the LED wall pack to confirm it lights up correctly. If using optional accessories like photocells or motion sensors, verify they function as intended.
Safety Tips:
- Always wear insulated gloves and safety glasses.
- Avoid working in wet conditions.
- If unsure about wiring, consult a licensed electrician.
- Double-check all wire connections and mounting stability before restoring power.
By following these steps carefully, your LED wall pack installation will be safe, efficient, and long-lasting.
Tips to Maximize Efficiency and Longevity
Maximizing your LED wall pack’s performance involves more than just proper installation. Implementing these LED wall pack efficiency and LED longevity tips will help you get the most out of your investment while reducing energy costs and maintenance.
First, choose fixtures with integrated heat sinks. Heat is the enemy of LED lifespan, and heat sinks help dissipate it effectively, preventing overheating that can cause premature failure. Good thermal management ensures consistent light output and longer service life.
Next, opt for LED wall packs with built-in surge protection. Outdoor lighting is often exposed to voltage spikes from storms or power fluctuations. Surge protection shields the internal electronics, reducing the risk of damage and costly replacements.
Installing photocell sensors or motion detectors adds another layer of efficiency. Photocells automatically turn the lights on at dusk and off at dawn, eliminating unnecessary energy use during daylight hours. Motion sensors can further reduce energy consumption by activating lights only when movement is detected.
Avoid over-lighting by selecting the right lumen output for your space. Too much light wastes energy and causes glare, while too little compromises safety. Calculate the required brightness based on the area size and purpose to strike the perfect balance.
Finally, maintain your LED wall packs regularly. Clean the lens to prevent dust buildup that reduces light output, and check seals for cracks or gaps to keep moisture out. Inspect for corrosion on metal parts and wiring connections, addressing any issues promptly to prevent failures.
You may also like: Effective Ways To Improve Energy Efficiency In Your Factory
Image source: elements.envato.com